HP Solution Center: Download and Installation
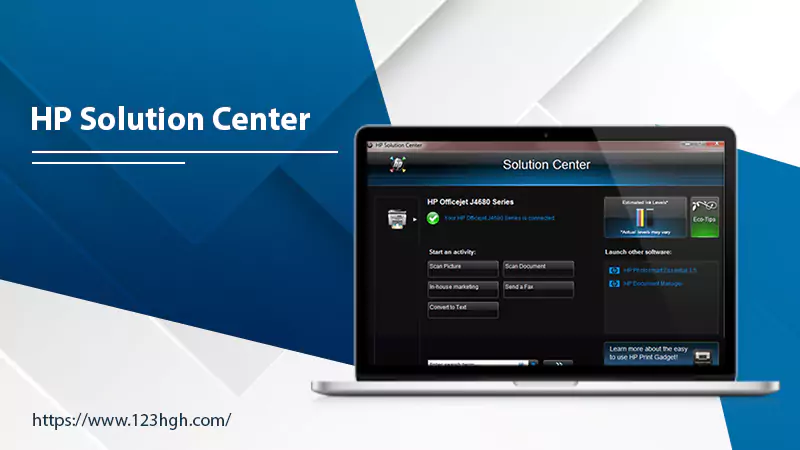
The HP Solution Center controls and maintains your printer in the Windows operating system. This program serves as the primary access point for printing, copying, and scanning procedures. It also provides troubleshooting assistance to the users. Undoubtedly, it is quite a useful piece of software for HP printer users.
The software is reliant on Adobe Flash Player to function. If you want to leverage the solution, you must download and install it properly on your system. This article gives users step-by-step instructions on how to install it. Further, you will also know what to do if the solution center stops working.
Perform HP Solution Center Download and Installation
You can download the Solution Center from the official support website of HP. Keep reading to learn about these methods in detail.
- Disconnect your computer from your printer.
- Now use a web browser to access the official support site of HP.
- On this website, find the ‘Software and Drivers’ section.
- Here, select the ‘Printers’ option.
- You will be taken to a page that says, ‘Identify your printer.’
- Input the details regarding your printer.
- Type in the printer’s name and model number.
- Choose your default operating system and its version.
- After adding all this data, click the ‘Submit’ button.
- You will see a software download page.
- Here, tap the ‘Download’ option.
- The HP Solution Center download will begin.
- Wait for some time till the download finishes.
- After the download process is over, you will see the Solution Center’s icon on your computer.
- Open it to start using it.
Read Also:- download hp printer software
What to Do When HP Solution Center Does Not Work
Sometimes you may find that this program does not open or work. It is mainly due to the fact that it is dependent on the Adobe Flash Player for its work. If you don’t have the Adobe Flash Player, you cannot work with the Solution Center. The Flash player is no longer supported. So, it is difficult to use the HP Solution Center.
Fortunately, there are other ways to perform printing and scanning. You can use any of the following:
1.Use the built-in print driver in Windows
You can set your printer with the print drivers pre-built into the Windows system. Follow these points to add a network printer to your Windows system.
- Launch ‘Change device installation settings’ on your system.
- Ensure to choose the ‘Yes (recommended)’ option.
- Position your printing machine and the system near your router.
- Link your printer to the same network as your system.
- Users of touchscreen control panel printers should launch the ‘Wireless settings’ menu and choose the ‘Wireless setup wizard.’ Now adhere to the guidelines to choose the network name and input the password.
- Users of non-touchscreen control panel printers should hold and press the wireless button till a wireless light starts flashing. Now, hold and press the WPS button within 2 minutes till the connection begins.
- On your Windows system, access the ‘Add a printer or scanner’ option.
- Tap ‘Add a printer or scanner’ and let your system find the available printers.
- When the printer is found, tap it.
- Now finish the driver installation process by tapping ‘Add device.’
POINT TO NOTE- If you cannot find your printer, follow these steps after the ones given above.
- Tap ‘The printer that I want isn’t listed.’
- Choose ‘Add a printer using TCP/IP address or hostname’ in the Find a Printer by Other Options window.
- After that, tap ‘Next.’
- From the drop-down of ‘Device Type,’ choose the ‘Auto detect’ option.
- Now, locate the IP address of your printer.
- Printers with a menu or touchscreen display should access the ‘Network Settings’ menu to get the IP address.
- If your printer does not have a touchscreen control panel, hit the ‘Information’ and the ‘Wireless’ buttons simultaneously. You will find a report listing the IP address.
- Finally, input the IP address of the printer and tap ‘Next.’
- Adhere to the pointers on your screen to finish the driver installation.
3.Use HP Scan and Capture application for Windows 10 and 8.
The HP Solution Center scans the documents. But if you cannot use it, the HP Scan and Capture app is another good option. Follow these steps to use this application.
- Turn on your printer.
- Load the machine with the appropriate paper.
- Ensure that all the ink cartridges are correctly installed.
- Put the item that needs to be scanned into the scanner glass. Alternatively, you can also load it into the automatic document feeder.
- Now access HP Scan and Capture application on your phone.
- You perform the download of this app from the official Microsoft store.
- After the installation of the app, tap ‘Launch.’
- Tap the three horizontal line menu icon and choose ‘Settings.’
- Tap ‘Select device’ and choose your printer.
- Next, tap ‘Photo scan options’ or ‘Document scan options’ to modify the settings.
- After modifying, tap the ‘Back’ arrow.
- Tap anywhere outside the menu of settings.
- After that, tap the ‘Capture photos’ or ‘Capture document’ option.
- Post the completion of the scanning process, tap the ‘Save’ icon.
Read Also:- hp print and scan doctor
4.Use HP Scan Executable
If you cannot perform HP Solution Center download on your system for scanning, use HP Scan Executable. It is present in the HP folder. This folder is situated in your computer’s system files. Access the HP folder and locate a folder with the name ‘Digital Imaging.’ Here you will see hpiscnapp.exe.
Open this file to scan your documents through your HP printing or scanning device. To find the executable file, go to this location: C: \Program Files (x86)\HP\Digital Imaging\bin\
5.Use Windows Fax and Scan
Windows Fax and Scan is the name of a faxing and scanning application in-built in Windows Vista and Windows 7, 8, and 10. Open it by typing ‘Windows scan’ on your system’s search bar. Now follow these pointers to use the application.
- Power on your scanner.
- Choose the ‘New scan’ option in the toolbar.
- Choose the scanner you wish to use in the Select Device window.
- Tap ‘OK.’
- Now, modify the scanner and the options for scanning in the New Scan window.
- You can preview the scan by choosing the ‘Preview’ option.
- Finally, select the scan option to scan your document.
Read Also:- hp fax error 344
Closing Words
The HP Solutions Center is an effective program to manage the working of your scanner and printer. But if you cannot use it due to the absence of Adobe Flash Player, there are other ways to perform the scanning, printing, and copying functions. If you have any queries about it, talk to a printer expert.