The Best Fixes for HP Printer Not Printing Color on Windows
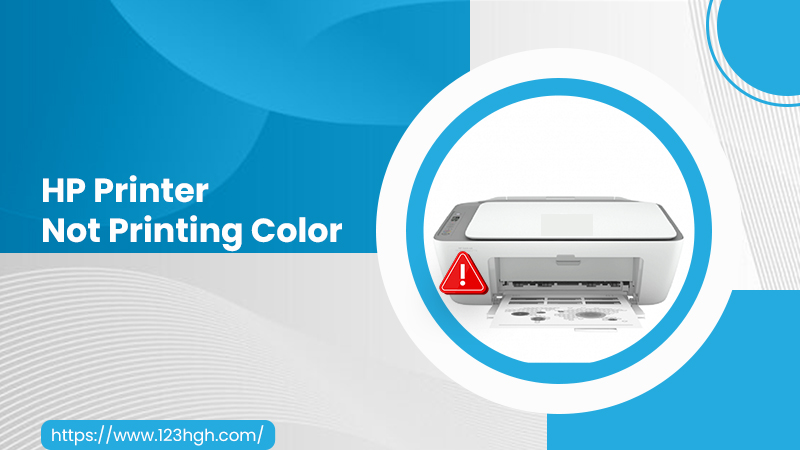
HP printers are widely used for various official and personal work. They provide crisp color prints, but any problem in the HP printer can halt the printing process. Users often find their HP printer not printing color, wherein the document they try printing comes out blank. It leaves them confused as in the absence of the knowledge of troubleshooting printing is impossible. This post will focus on the causes and the resolutions for your printer not printing in color.
HP Printer Not Printing Color – Key Points to Note
- Check that you are using genuine ink cartridges from HP.
- Use appropriate paper for the print job.
- Use the right print settings for your print job.
- Find the ink levels and replace empty or low ink cartridges.
- Adjust the color options.
- Clean the printhead
Reasons for HP Printer Not Printing Color Correctly
When your HP printer not printing in color, it can be due to the following reasons:
- The cartridges are faulty.
- The printhead is unclean.
- There’s an issue with your printer drivers.
- You are not using genuine HP cartridges.
- Inappropriate paper is being used for the print job.
- Faulty printer settings
- Ink levels are low.
Troubleshoot HP Printer Not Printing Color
Now that you have a clearer idea of this problem let us find the fixes in detail.
1. Use genuine HP ink
No matter the model of your HP printer, be it OfficeJet or DeskJet, using genuine cartridges is essential. HP does not guarantee the reliability of cartridges that aren’t manufactured by the brand.
So, first, check whether you are using genuine cartridges by the brand. You can examine the authenticity by navigating to the HP Anti-Counter web page. If the toner is not by HP, purchase one from the HP Store.
2. Use appropriate paper for the print job.
You must load the appropriate paper with the print side in your printer’s input tray. It must be uncurled and unwrinkled. Here are the correct paper types for different purposes.
- Use plain paper equipped with ColorLock technology to print routine text documents.
- If you have documents that need dense printing, employ the HP Advanced Photo Paper.
- Keep the paper in its original packaging.
- Do not load more than 20 sheets of paper before printing.
3. Choose the correct print settings.
If you find your HP printer not printing color correctly, configure the correct print settings.
-
Windows
- Tap ‘File’ in your software application and choose ‘Print.’
- In the Print window, launch the ‘Properties’ box.
- If you want to print on photo paper, choose the type of photo paper you want to print on.
- Increase the print quality if the printout’s quality is unsatisfactory.
- If you want quick printing, lower the print quality.
- Choose the correct paper size if you are printing on another size of paper than what you usually do.
- Choose the ‘Grayscale’ option if you’d like to print in black and white.
- After choosing the relevant settings, tap ‘OK’ to apply them.
- Now tap ‘Print.’
-
Mac
- Launch a document and tap ‘File.’
- Now choose ‘Print.’
- In the Print window, choose the ‘Paper Type/Quality’ menu.
- In the Paper Type setting, choose an option that corresponds to your paper type.
- Increase the print quality from the ‘Quality’ settings. Decrease the quality if you want quick prints.
- Save the settings by going to the ‘Presets’ menu and tapping ‘Save.’
- Input a name to the new preset.
4. Check ink levels and replace empty or low ink cartridges.
Checking ink levels is necessary to ensure that no cartridge is exhausted of ink or is very low on it. Check the ink levels by going to the Control Panel of the printer. Here, tap the Ink Level Indicator icon. You will see the ink levels on the Control Panel.
Replace all those cartridges that have a symbol of an exclamation mark inside a black and yellow triangle. You can replace cartridges depleted or very low in ink with these steps:
- Open the access door of the cartridge.
- Allow the carriage to stop moving.
- Hit the tab inward on the previous ink cartridge’s front to release it.
- Now, pull up the cartridge to take it out from its slot.
- Take out a cartridge from its package.
- Now pull the orange pull tab.
- Hold the sides of the ink cartridges and take out its orange cap counter.
- Turn the cartridge so it faces downward.
- Now match the label color of the cartridge with the color dot on the printer’s carriage.
- Slide the cartridge into the correct slot and press it till it comes into place.
Read Also:-HP printer ink cartridge error
5. Vent and seat the cartridges correctly
Cartridges need to be vented and seated correctly if you find your HP printer not printing color ink after refill. Use these steps to make the cartridges work.
- Turn on your printer and open the cartridge access door.
- Now, press the tab inward on the old cartridge’s front to release it.
- Now, remove the cartridge by pulling it up.
- Look at the vent area.
- If it is clogged, take away the excess adhesive from it with a pin.
- Now, turn the cartridge so it touches the face downward.
- Match the label color with its color dot on the carriage.
- Place the ink cartridge into its slot.
- Use these steps again to examine the vents on every toner.
- In the end, try printing.
6. Modify the color options
If you’ve configured the color options incorrectly, your HP printer will not print color.
- HP color laser printer users should choose ‘Print’ followed by their printer. Then select ‘Preferences.’ Go to ‘Advanced’ and find the ‘Color Themes’ list. Use an option specific to your needs.
- HP InkJet printer users can go to the ‘Print’ window, open ‘Options’ and then adjust the print quality.
7. Perform automatic printhead cleaning.
If the printhead is dirty, you will find the HP printer not printing color. You may clean the printhead with the in-built cleaning tool.
- Hit the ‘Start’ icon on your Windows system.
- Now, choose ‘Control Panel.
- Here, tap ‘Devices and Printers.’
- Tap ‘Print server properties’ in the next window.
- Pick your printing device and right-tap its icon.
- Click ‘Printer Properties.’
- Now, select ‘Hardware.’
- Tap the ‘Clean Ink’ button.
- On the small window that appears, tap ‘OK’ to begin the printhead cleaning.
8. Calibrate your printer
This fix is for HP Laser printer owners who find badly colored areas in their printouts. Calibrating the printer can fix this issue.
HP Laser printers with touchscreen control panels and those with LCD control panels should follow these points.
- Hit the ‘Setup’ option and launch ‘System.’
- Select ‘Print Quality’ followed by ‘Color calibration.’
- Select the ‘Calibrate now’ option and hit ‘OK.’
Concluding Words
Finding your HP printer not printing color can be a frustrating problem, especially if you need to print urgently. But by examining cartridges, choosing the correct print settings and paper type, and cleaning the printhead, you can resolve it. If you have any queries about these techniques, connect with an HP printer technical expert.